Sign up now to join the JEGS email newsletter and be the first to learn about new products, special deals and e-mail only offers!

 10 People Found This Article Helpful
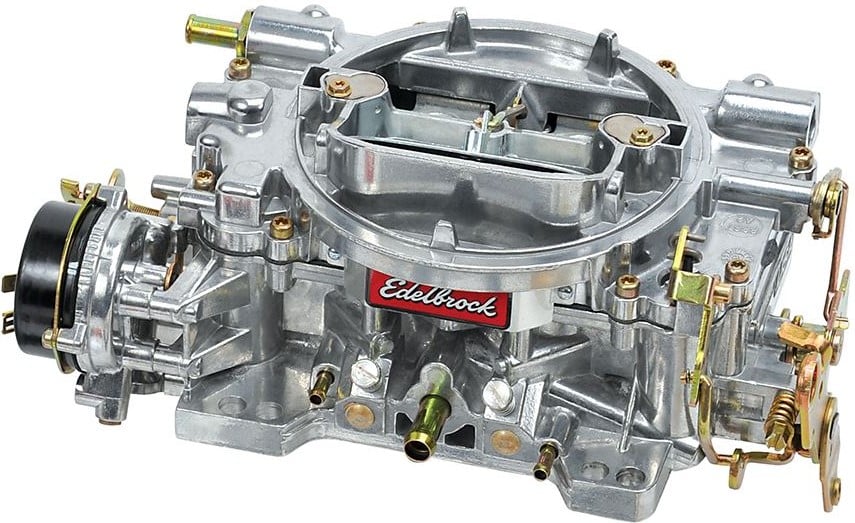

An Edelbrock carburetor is a reliable and proven upgrade for classic and carbureted vehicles. To keep it performing at its best, regular cleaning and inspection are essential. Knowing how to clean an Edelbrock carburetor helps maintain proper fuel delivery, smooth throttle response, and consistent engine performance.
Over time, fuel additives, evaporation, dirt, and moisture can leave behind deposits that clog passages and restrict movement. In humid climates or areas with large temperature swings, condensation inside the carburetor can also lead to corrosion. Cleaning the metering jets, metering rods, needle and seat assemblies, and internal passages prevents these issues and extends the life of your carburetor.
Proper preparation makes the cleaning process easier and helps ensure everything goes back together correctly.
• Basic hand tools such as wrenches and sockets
• Screwdrivers and Torx drivers
• Carburetor cleaner
• Compressed air
• Small brushes and clean rags
• A clean workbench or flat surface
Cover the intake opening with a clean shop towel to prevent debris from falling inside the engine.

Place the carburetor on a level surface with room for the linkage to hang freely.
• Loosen the two center Torx screws and rotate the metering rod covers
• Remove the metering rods, step up springs, and plungers
• Disconnect the accelerator pump linkage
• Remove the top cover using the correct Torx driver
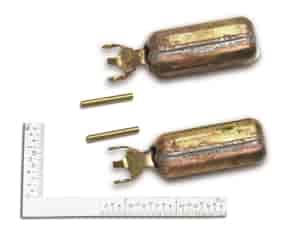
• Carefully remove floats, needles, seats, and jets
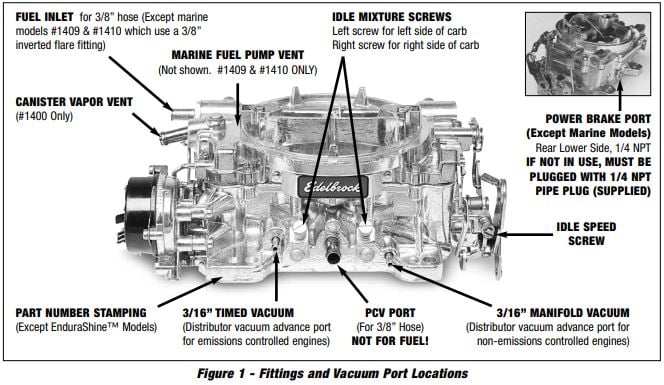
• Remove the idle mixture screws from the front of the carburetor
Organize all parts as they are removed to simplify reassembly.
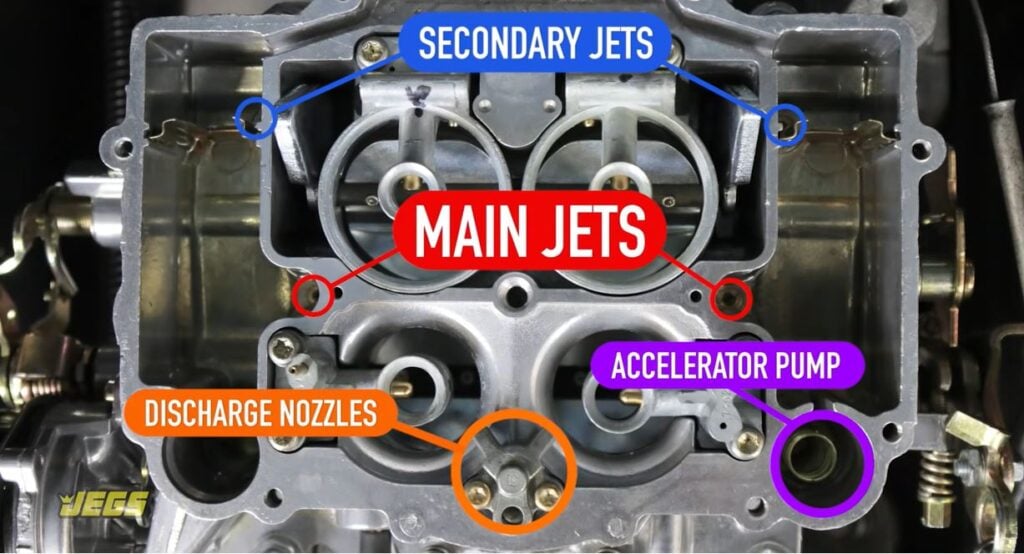
Start by removing loose dirt and grime with a soft brush.
• Spray carburetor cleaner into all visible passages and openings
• Use compressed air to blow out each passage thoroughly
• Repeat until airflow is unrestricted
Never use wire or hard tools inside aluminum passages, as this can cause permanent damage.
Sign up now to join the JEGS email newsletter and be the first to learn about new products, special deals and e-mail only offers!
Small metal components such as floats, needles, seats, and metering rods should be soaked separately.
• Place metal parts in carburetor cleaner
• Allow them to soak according to the cleaner instructions
• Scrub gently with a soft brush
• Rinse with cleaner and dry using compressed air
Do not soak rubber, plastic, or gasket materials, as carb cleaner can damage them.
Carburetor jets control fuel flow and play a major role in air fuel mixture. Dirty or clogged jets can cause lean conditions, hesitation, or stalling.
Steps to clean jets properly:
Once clean, reinstall the jets carefully and ensure they seat correctly.
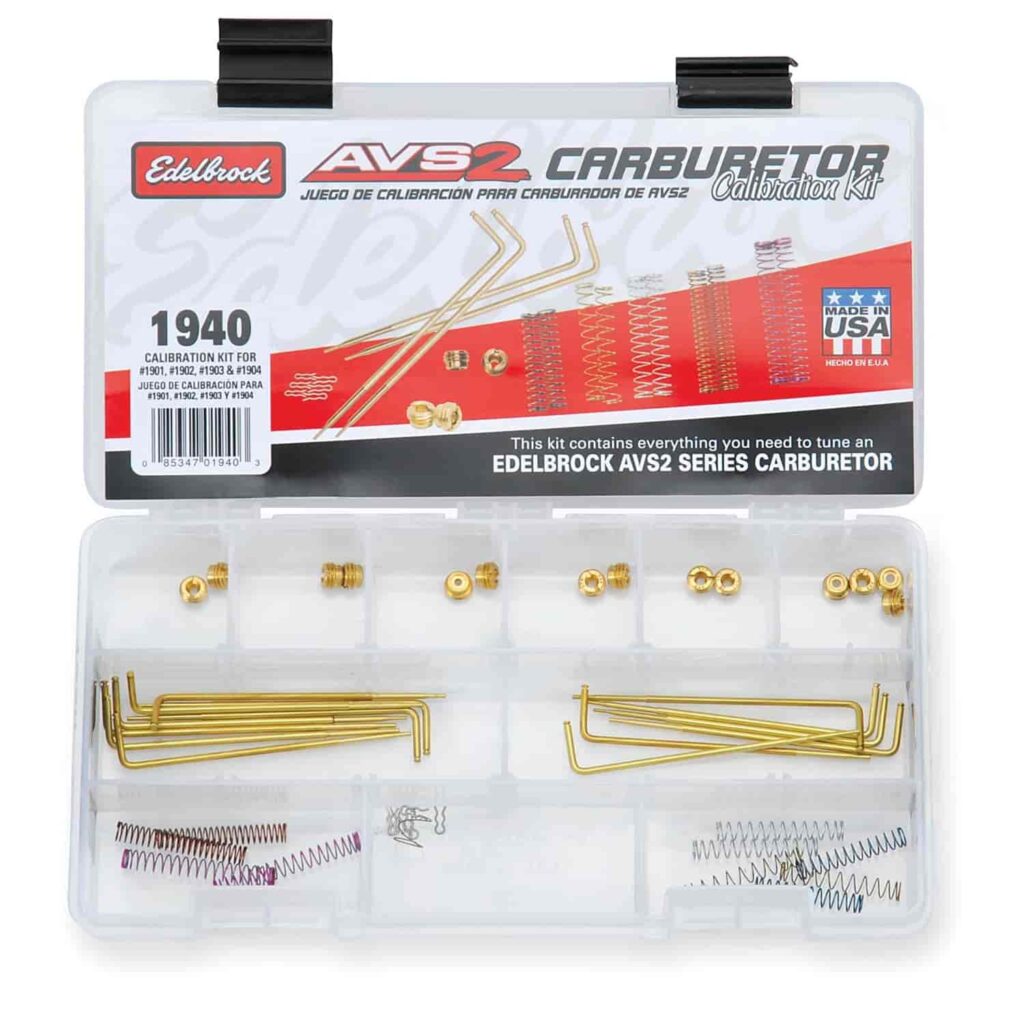
Before putting the carburetor back together, inspect each component.
• Check floats for damage or fuel inside
• Inspect needles and seats for wear
• Verify metering rods move freely
• Look for warped surfaces or stripped threads
Replacing worn parts now prevents tuning problems later.
Reassembly is the reverse of disassembly.
• Install jets, floats, needles, and seats
• Reinstall the top cover and accelerator pump linkage
• Install metering rods, springs, and covers
• Reinstall idle mixture screws and lightly seat them
• Mount the carburetor with a new base gasket
• Reconnect fuel line, linkage, and vacuum hoses
After installation, check for fuel leaks and verify throttle operation before starting the engine.

Regular maintenance reduces how often deep cleaning is required.
• Buy fuel from reputable stations
• Avoid ethanol blends when possible
• Use a quality fuel system cleaner every 12,000 to 15,000 miles
• Replace the air filter regularly
• Inspect the air cleaner housing for debris
• Ensure proper sealing between the air cleaner and carburetor
Clean air and fuel reduce internal buildup and help maintain consistent performance.


Cleaning intervals depend on usage and fuel quality.
• Weekend and seasonal vehicles may need cleaning annually
• Daily drivers benefit from inspection every 15,000 miles
• Engines stored long term should be cleaned before returning to service
Regular inspection prevents major issues from developing.
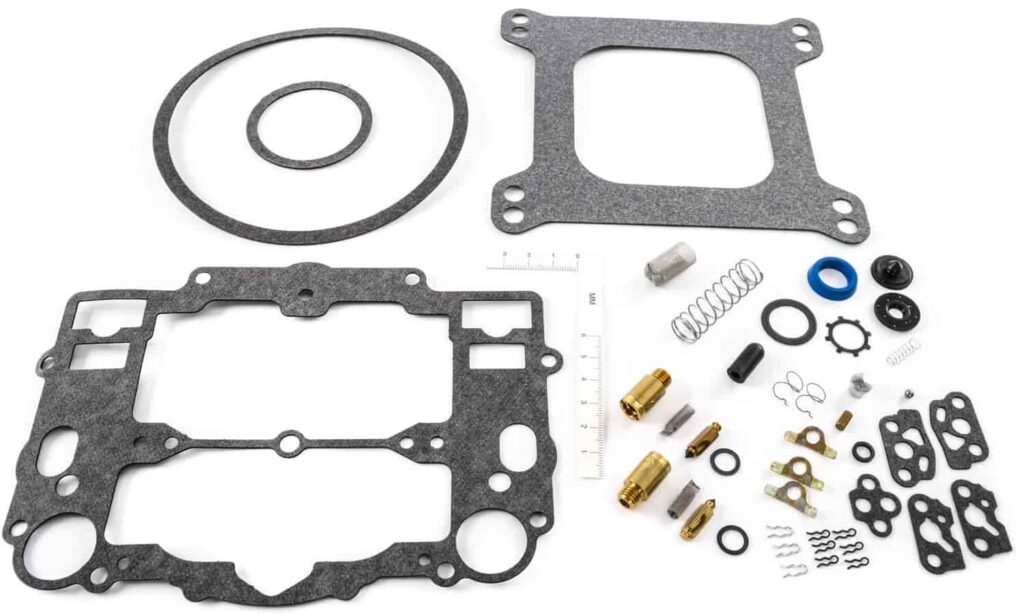
JEGS carries carburetor cleaners, rebuild kits, calibration parts, gaskets, and Edelbrock carburetors for street and performance applications. Whether you are maintaining a daily driver or restoring a classic, JEGS offers the parts and expert support to help you get the job done right.
Visit www.jegs.com to shop Edelbrock carburetor products and performance components and keep your engine running at its best.





Leave a Reply